
To install vinyl plank flooring, prepare a clean, flat, dry subfloor, let the planks acclimate for 48 hours, then lay click-lock planks row by row with a 1/4-inch expansion gap around the edges. Most luxury vinyl plank (LVP) is click-lock floating, which is the most DIY-friendly flooring there is. The work that decides whether the floor lasts is the prep and the expansion gaps, not the clicking. Below is the full step-by-step, the most common mistakes, and an honest note on when it is worth hiring a pro. For professional installs, see our vinyl plank flooring in San Diego page.
- Subfloor must be flat within 3/16 inch over 10 feet
- Acclimate planks flat in the room for 48 hours
- Leave a 1/4-inch expansion gap at every wall
- Run planks parallel to the longest wall or main light source
- Stagger end joints at least 6 inches
- Over concrete, use a moisture barrier
Prefer it done right the first time? Request a free estimate or call +1 (619) 777-4334.
Tools and Materials
- Vinyl planks (buy 10 percent extra for waste and cuts)
- Utility knife and a speed square (most LVP is score-and-snap)
- Tapping block, pull bar, and 1/4-inch spacers
- Rubber mallet, tape measure, pencil, chalk line
- Moisture barrier or underlayment if not attached to the plank
- Jigsaw or oscillating tool for door jambs and curves
Step 1: Prep the Subfloor
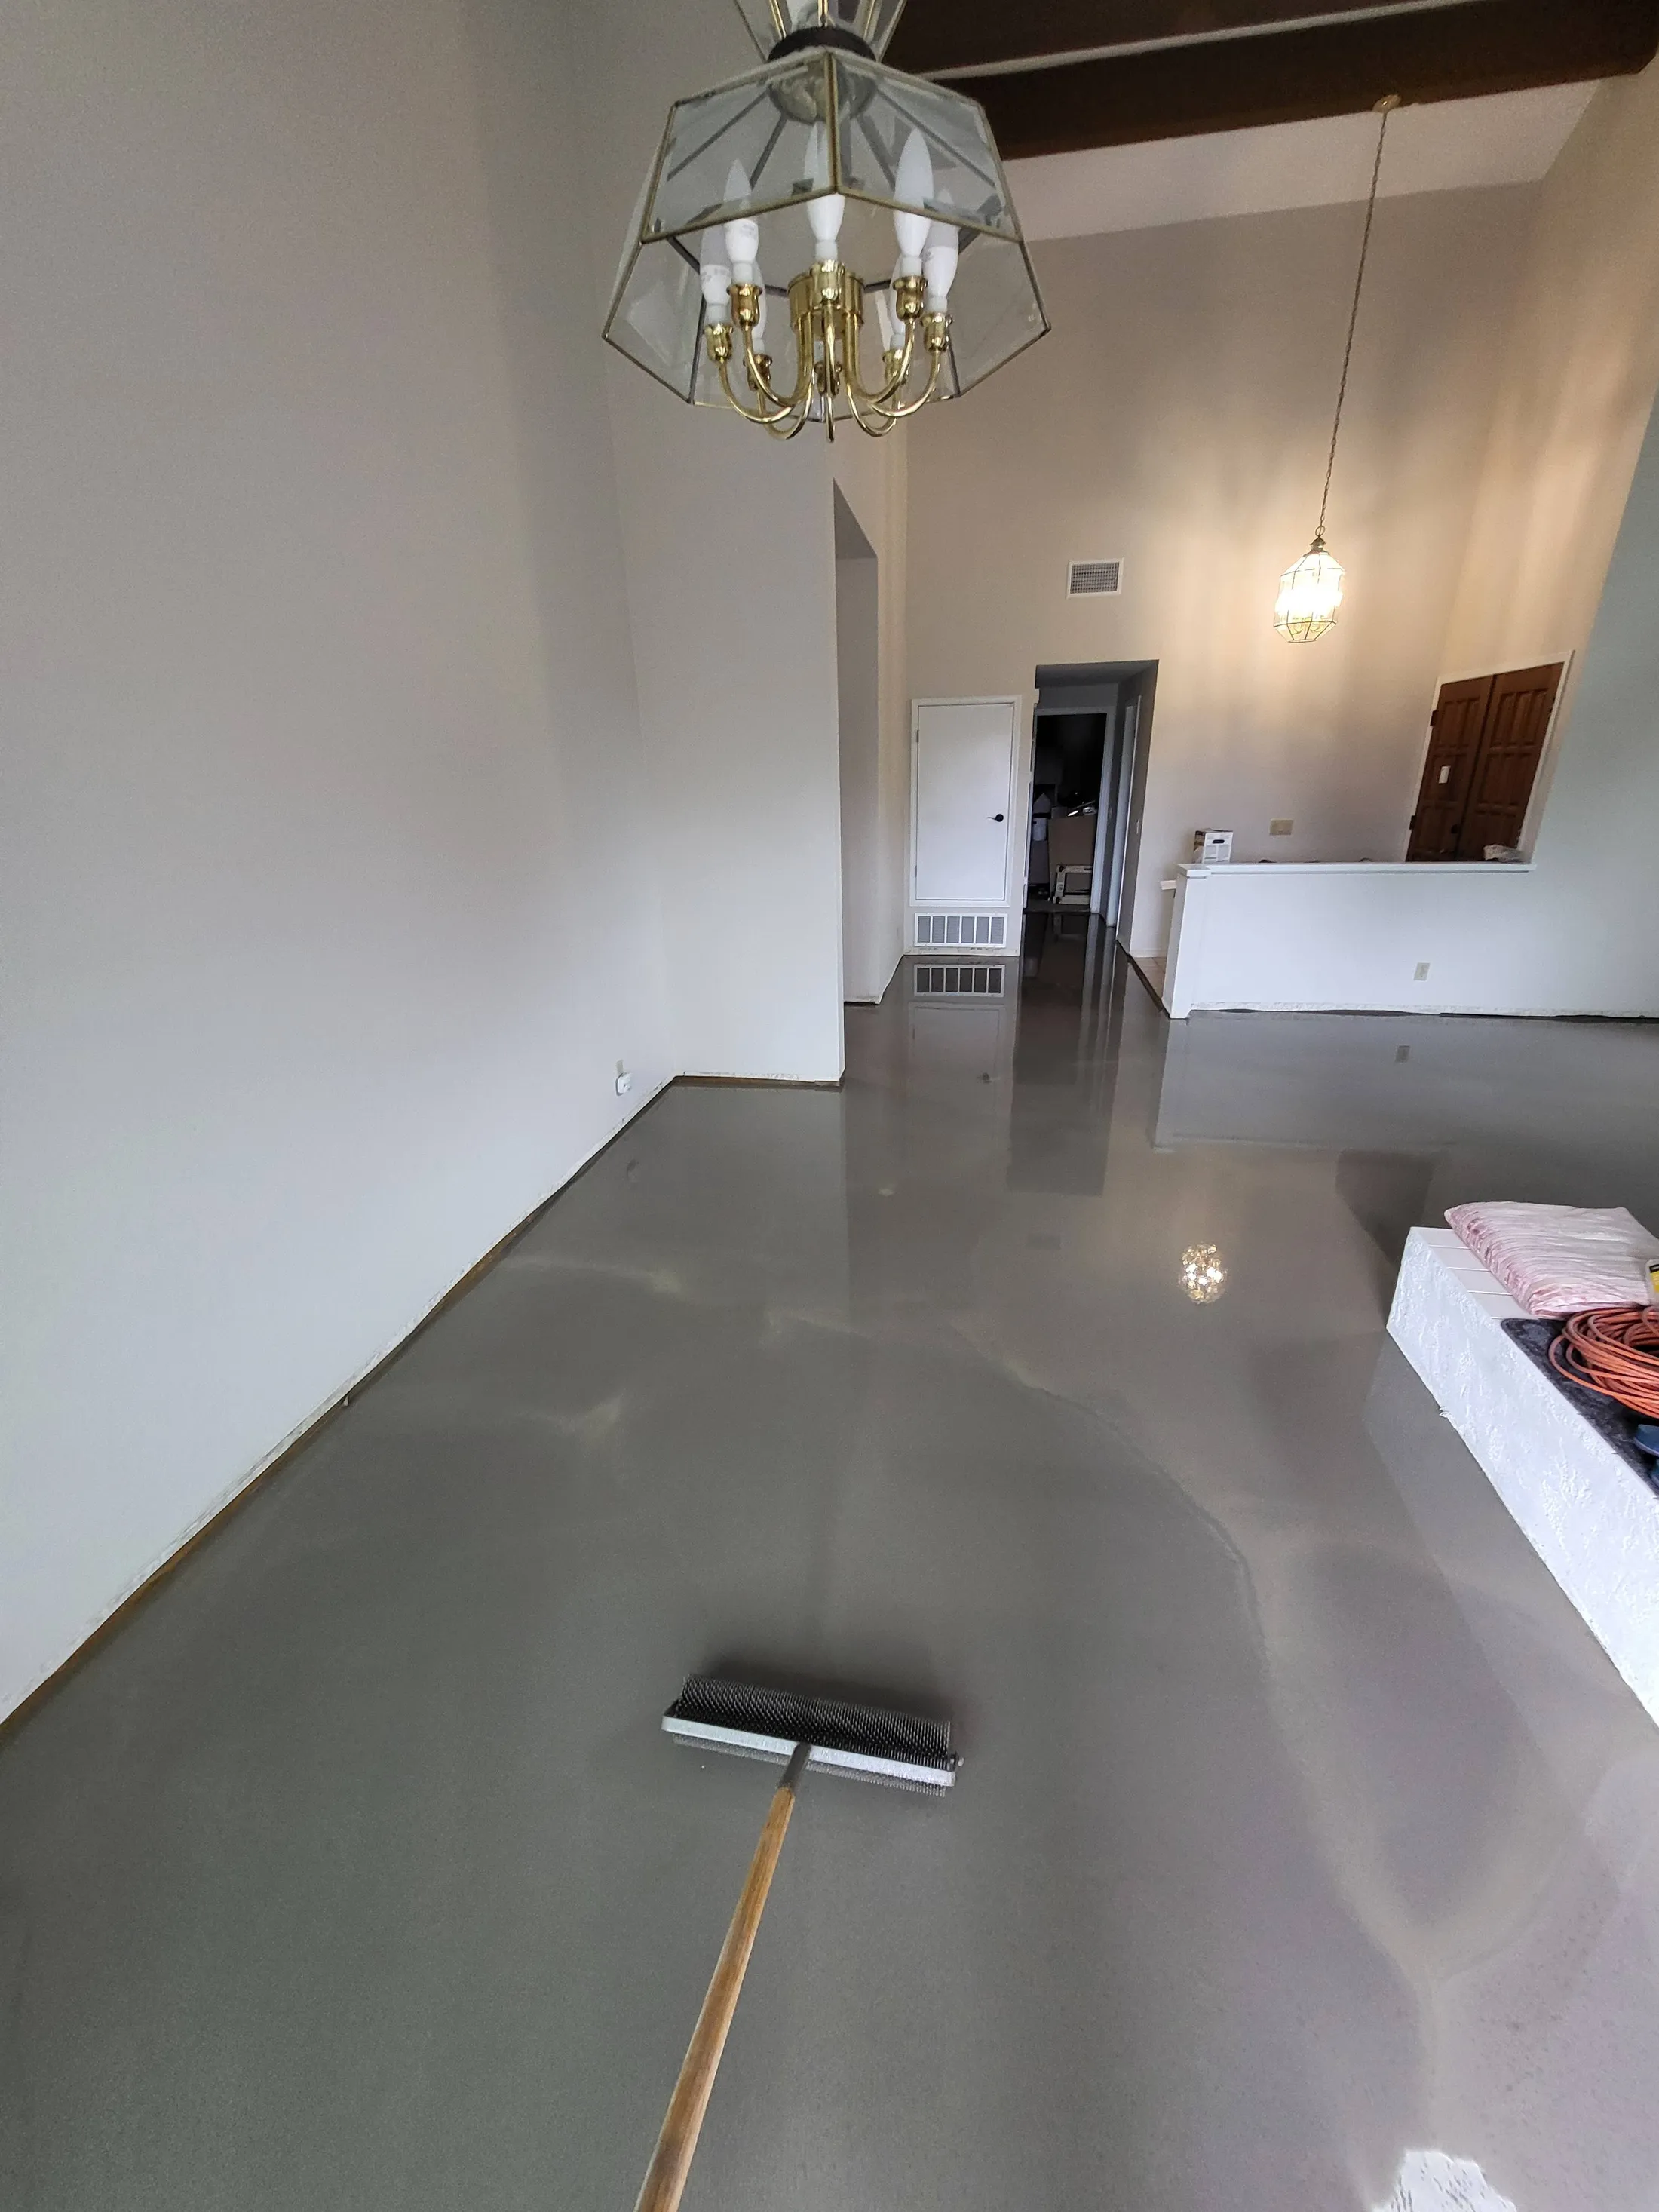
This is the step that decides everything. The subfloor must be clean, flat, and dry. Sweep and vacuum thoroughly. Check flatness with a straight edge: vinyl plank requires the floor to be within 3/16 inch over a 10-foot span. Grind down high spots and fill low spots with patch or self-leveling compound. Over a concrete slab, test for moisture and lay a moisture barrier. If you are installing over an existing floor, read our guide on whether you can install over existing floors, since the same flatness and bonding rules apply to vinyl.
Step 2: Acclimate the Planks
Bring the unopened boxes into the room where they will be installed and let them sit flat for at least 48 hours. Even rigid-core vinyl expands and contracts slightly with temperature, and acclimation lets the planks reach a stable size before they are locked together. Skipping this is a leading cause of gapping and peaking later.
Step 3: Plan the Layout and Direction
Run the planks parallel to the longest wall in the room, or in the direction of the main light source from windows, which makes the seams less visible. Measure the room and dry-lay a few rows to check that the last row will not be a thin sliver; if it would be, trim the first row to balance it. Mix planks from several boxes as you go so color and pattern variation blends naturally instead of clustering.
Step 4: Install Row by Row
- Start in a corner with spacers holding a 1/4-inch gap at both walls.
- Lay the first row with the tongue side facing the wall, connecting planks end to end.
- Angle each new plank into the row before it and press down to click the long edge, then tap it tight with the tapping block.
- Stagger end joints between rows by at least 6 inches so seams never line up. Use the offcut from one row to start the next when it is long enough.
- Keep spacers at every wall as you go, and check the rows stay straight.
Step 5: Finish the Edges
The last row almost always needs to be cut narrower to length; scribe it to the wall and use a pull bar to lock it in. Remove all spacers. Reinstall baseboards or add quarter-round to cover the expansion gap, and nail the trim to the wall, never down into the floor, so the floating floor can still move. Add transition strips at doorways and where the vinyl meets other flooring.
Common Mistakes to Avoid
- Skipping flatness prep. Dips and bumps cause hollow spots, clicking, and joint separation. This is the number one failure.
- No expansion gap. A floor locked tight against the walls will peak and buckle when it expands. Always leave 1/4 inch.
- Joints too close. End joints within 6 inches of the row before look bad and weaken the floor.
- Skipping acclimation. Planks installed cold or hot will gap or peak after they settle.
- Forgetting the moisture barrier over concrete. Slab vapor can lift and damage the floor.
- Pounding the locking edge directly. Always use a tapping block so you do not crush the joint.
When to Hire a Pro
Click-lock vinyl in a simple rectangular room is a realistic weekend DIY job. It is worth hiring a professional when the subfloor needs grinding or self-leveling, when you have many doorways, angles, stairs, or an island to cut around, when you are going over concrete with moisture concerns, or when you want a glue-down install. Mistakes in those situations cost more to fix than the install would have. A pro also keeps the manufacturer warranty intact. Request a free in-home estimate if you would rather have it done right the first time.
Frequently Asked Questions
How Do You Install Vinyl Plank Flooring?
Prepare a clean, flat, dry subfloor, acclimate the planks for 48 hours, then lay click-lock planks row by row starting in a corner with 1/4-inch spacers at the walls. Angle and click each plank into the last, stagger end joints by at least 6 inches, cut the final row to fit, and cover the expansion gap with trim.
Which Direction Should Vinyl Plank Flooring Go?
Run vinyl plank parallel to the longest wall in the room, or in the direction of the main light from windows. This makes the seams less noticeable and the room feel larger. In hallways, always run the planks along the length of the hall.
Do You Need Underlayment for Vinyl Plank Flooring?
Only if it is not already attached. Many rigid-core vinyl planks have a pad pre-attached, in which case you should not add a second layer. Over concrete you still need a moisture barrier. Do not double up cushioning, because too much give under the floor causes the locking joints to fail.
What Are the Most Common Mistakes Installing LVP?
The biggest mistakes are skipping subfloor flatness prep, leaving no expansion gap at the walls, staggering end joints too closely, skipping the 48-hour acclimation, and forgetting the moisture barrier over concrete. Most LVP failures trace back to prep and expansion gaps, not the plank itself.
How Long Does It Take to Install Vinyl Plank Flooring?
A professional installs roughly 100 square feet in 1 to 3 hours depending on room complexity. A DIY install takes longer, often a full weekend for a single room, with most of the time going to subfloor prep and cutting around obstacles rather than clicking planks together.